How to photograph the northern lights: camera settings, lenses and tips from the field
I photograph the northern lights almost every night from September to April. As a guide in Tromsø I've seen hundreds of people standing under a dancing sky with only black or blurry photos coming out of their cameras. The good news is that photographing the northern lights isn't hard once you know a few basics. In this guide you'll find the settings I use, the gear, and the most common mistakes.
Gear for photographing the northern lights
- A camera with a manual mode. Ideally full frame, but an older DSLR or mirrorless will do. I shoot with Canon; I write about it in what I shoot with.
- A fast wide-angle lens. Ideally 14–24 mm at f/2.8 or faster. The Samyang 14 mm f/2.8 is great value.
- A tripod. You can't do without one. It must be steady in the wind too.
- Spare batteries in a pocket close to your body. The cold drains them several times faster.
- A headtorch with a red light, so you don't dazzle yourself or others.
- Warm clothes. Standing on snow for two hours at −15 °C is different from a stroll around town.
Camera settings
This is my starting point; after that I only adjust for the strength of the aurora.
- Mode: manual (M), RAW format.
- Aperture: as wide as possible, f/1.8 to f/2.8.
- ISO: 1600–3200. In a strong aurora even 800, in a faint one up to 6400.
- Shutter speed: 2–10 seconds. A fast, bright aurora needs a shorter time (1–4 s) to show its structure. A faint, slow one can take 10–15 s.
- White balance: manually around 3500–4000 K. You can change it in RAW, but it helps when checking the screen.
- Stabilisation: off on a tripod.
- Self-timer: 2 seconds or a remote release, so you don't shake the camera.
How to focus in the dark
Autofocus doesn't work in the dark. Switch the lens to manual focus, turn on live view, zoom in on the brightest star and turn the focus ring until it's as small and sharp as possible. Then tape the focus ring so it can't move by accident. The infinity mark on the lens is often inaccurate: don't rely on it.
Composition: the aurora needs a foreground
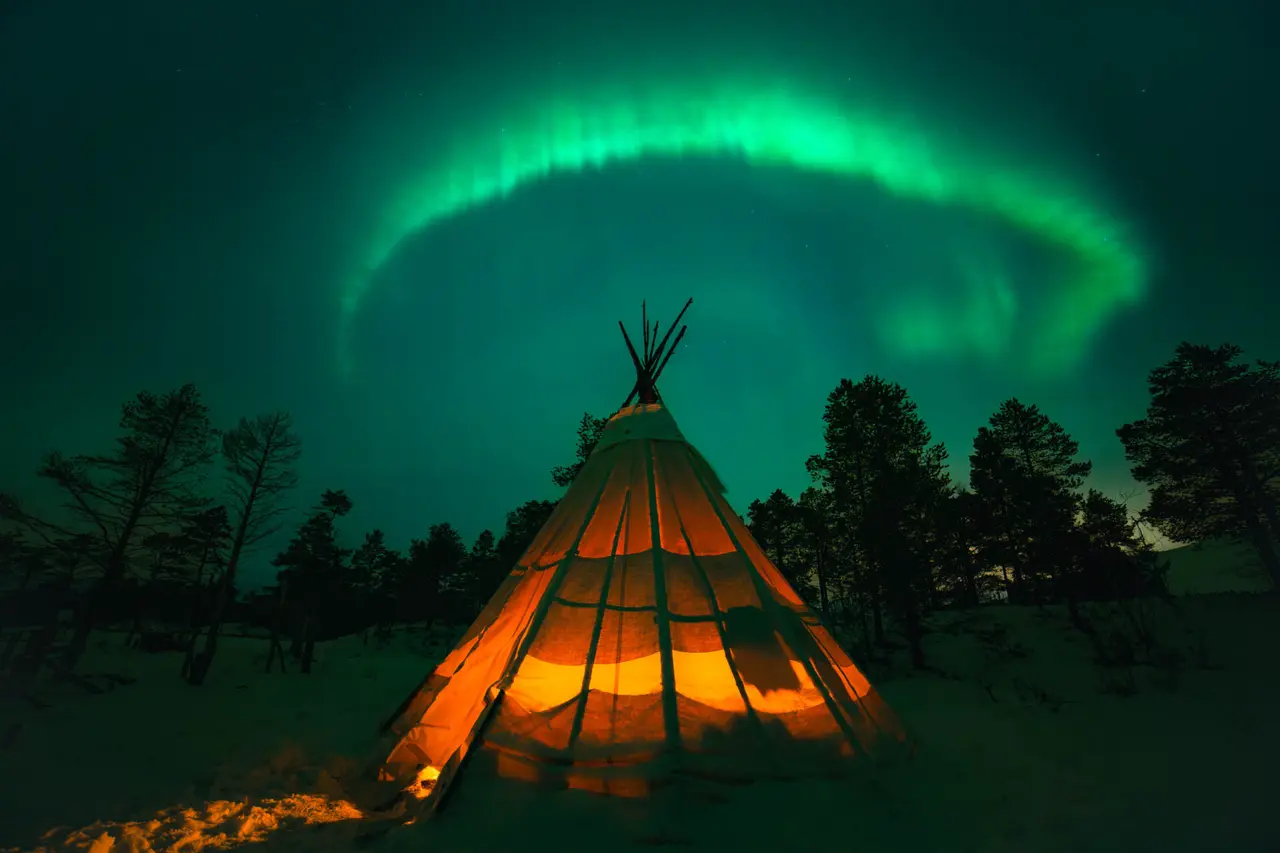
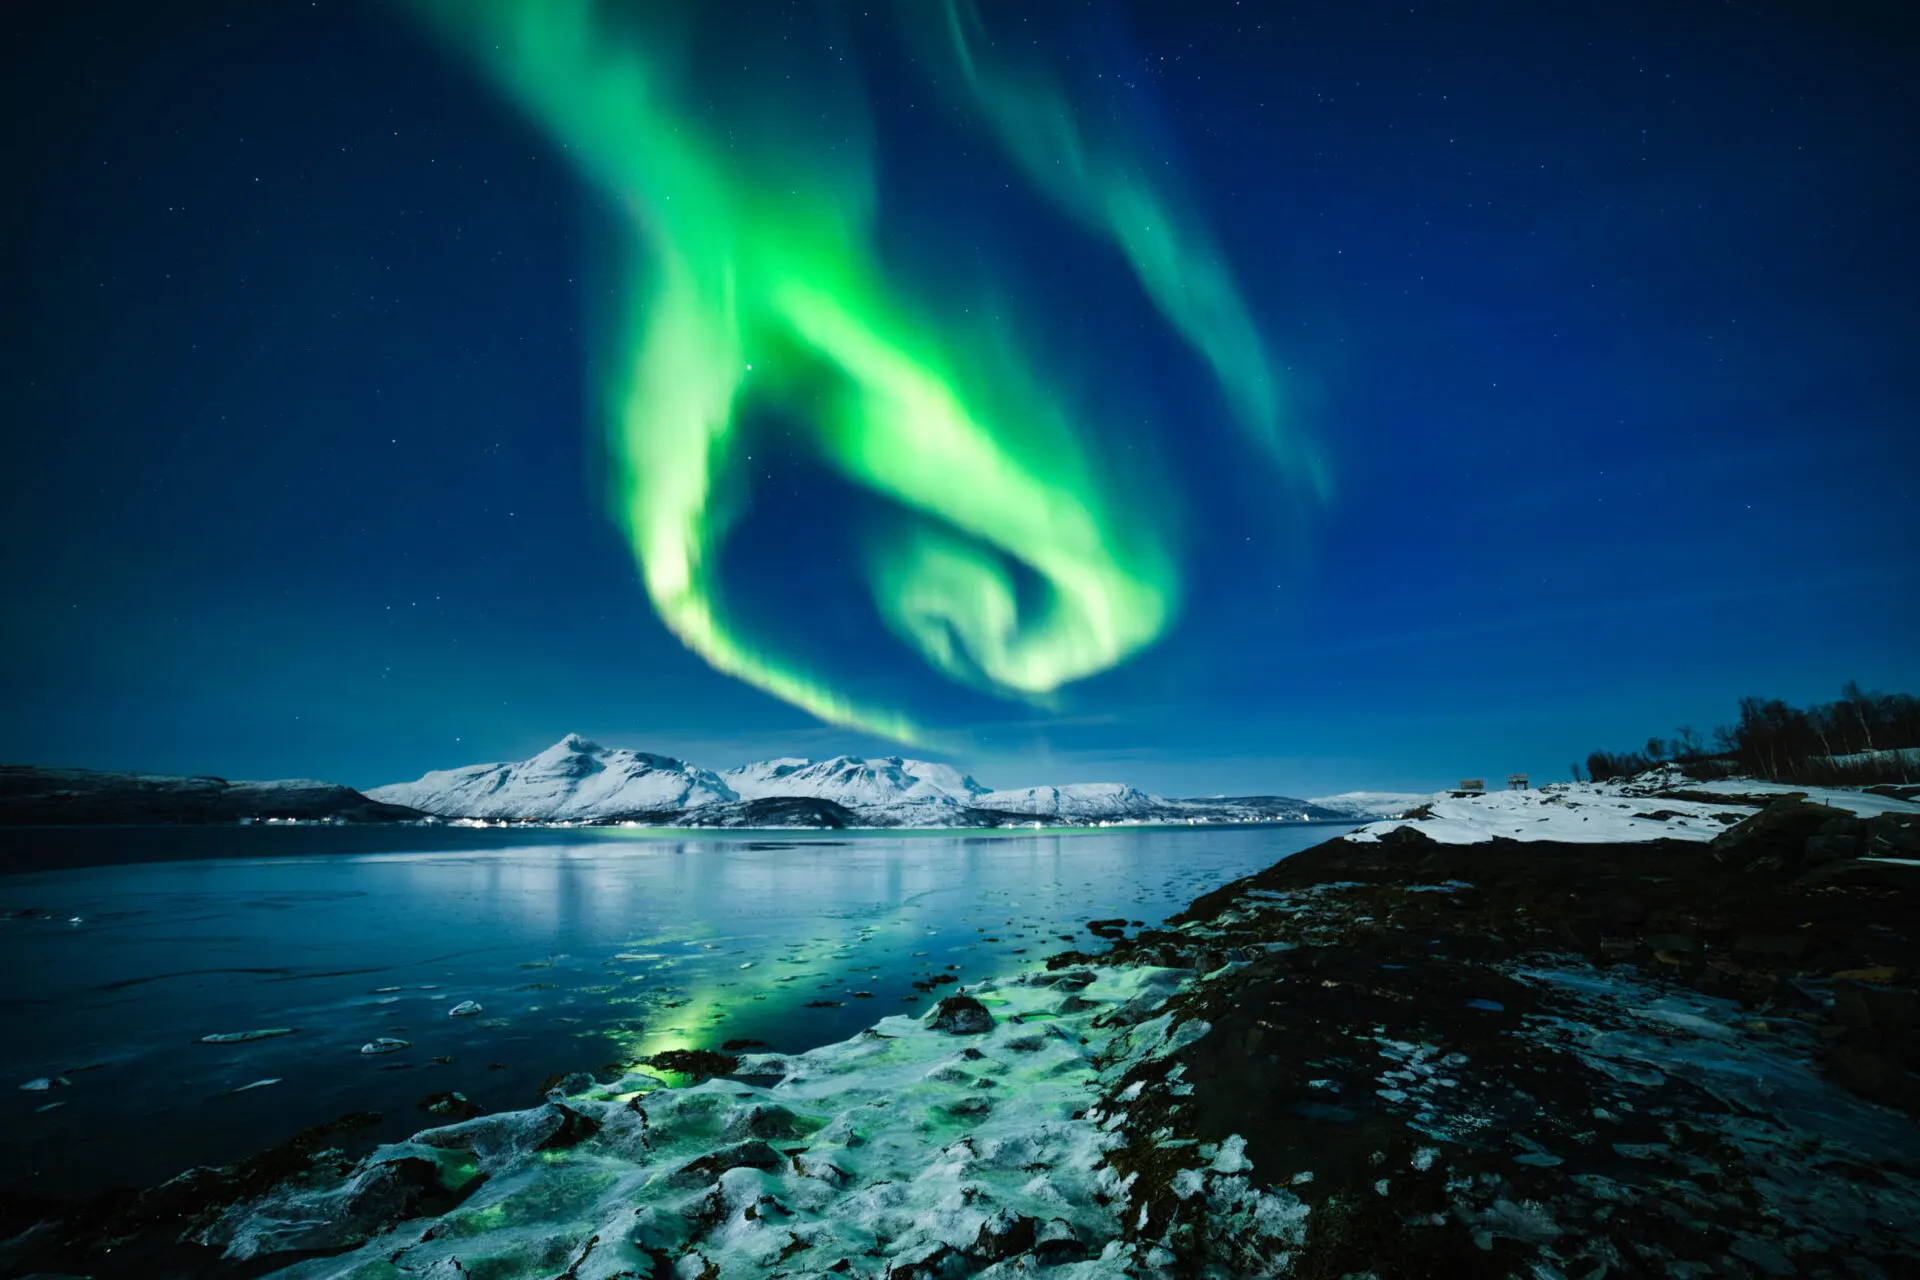
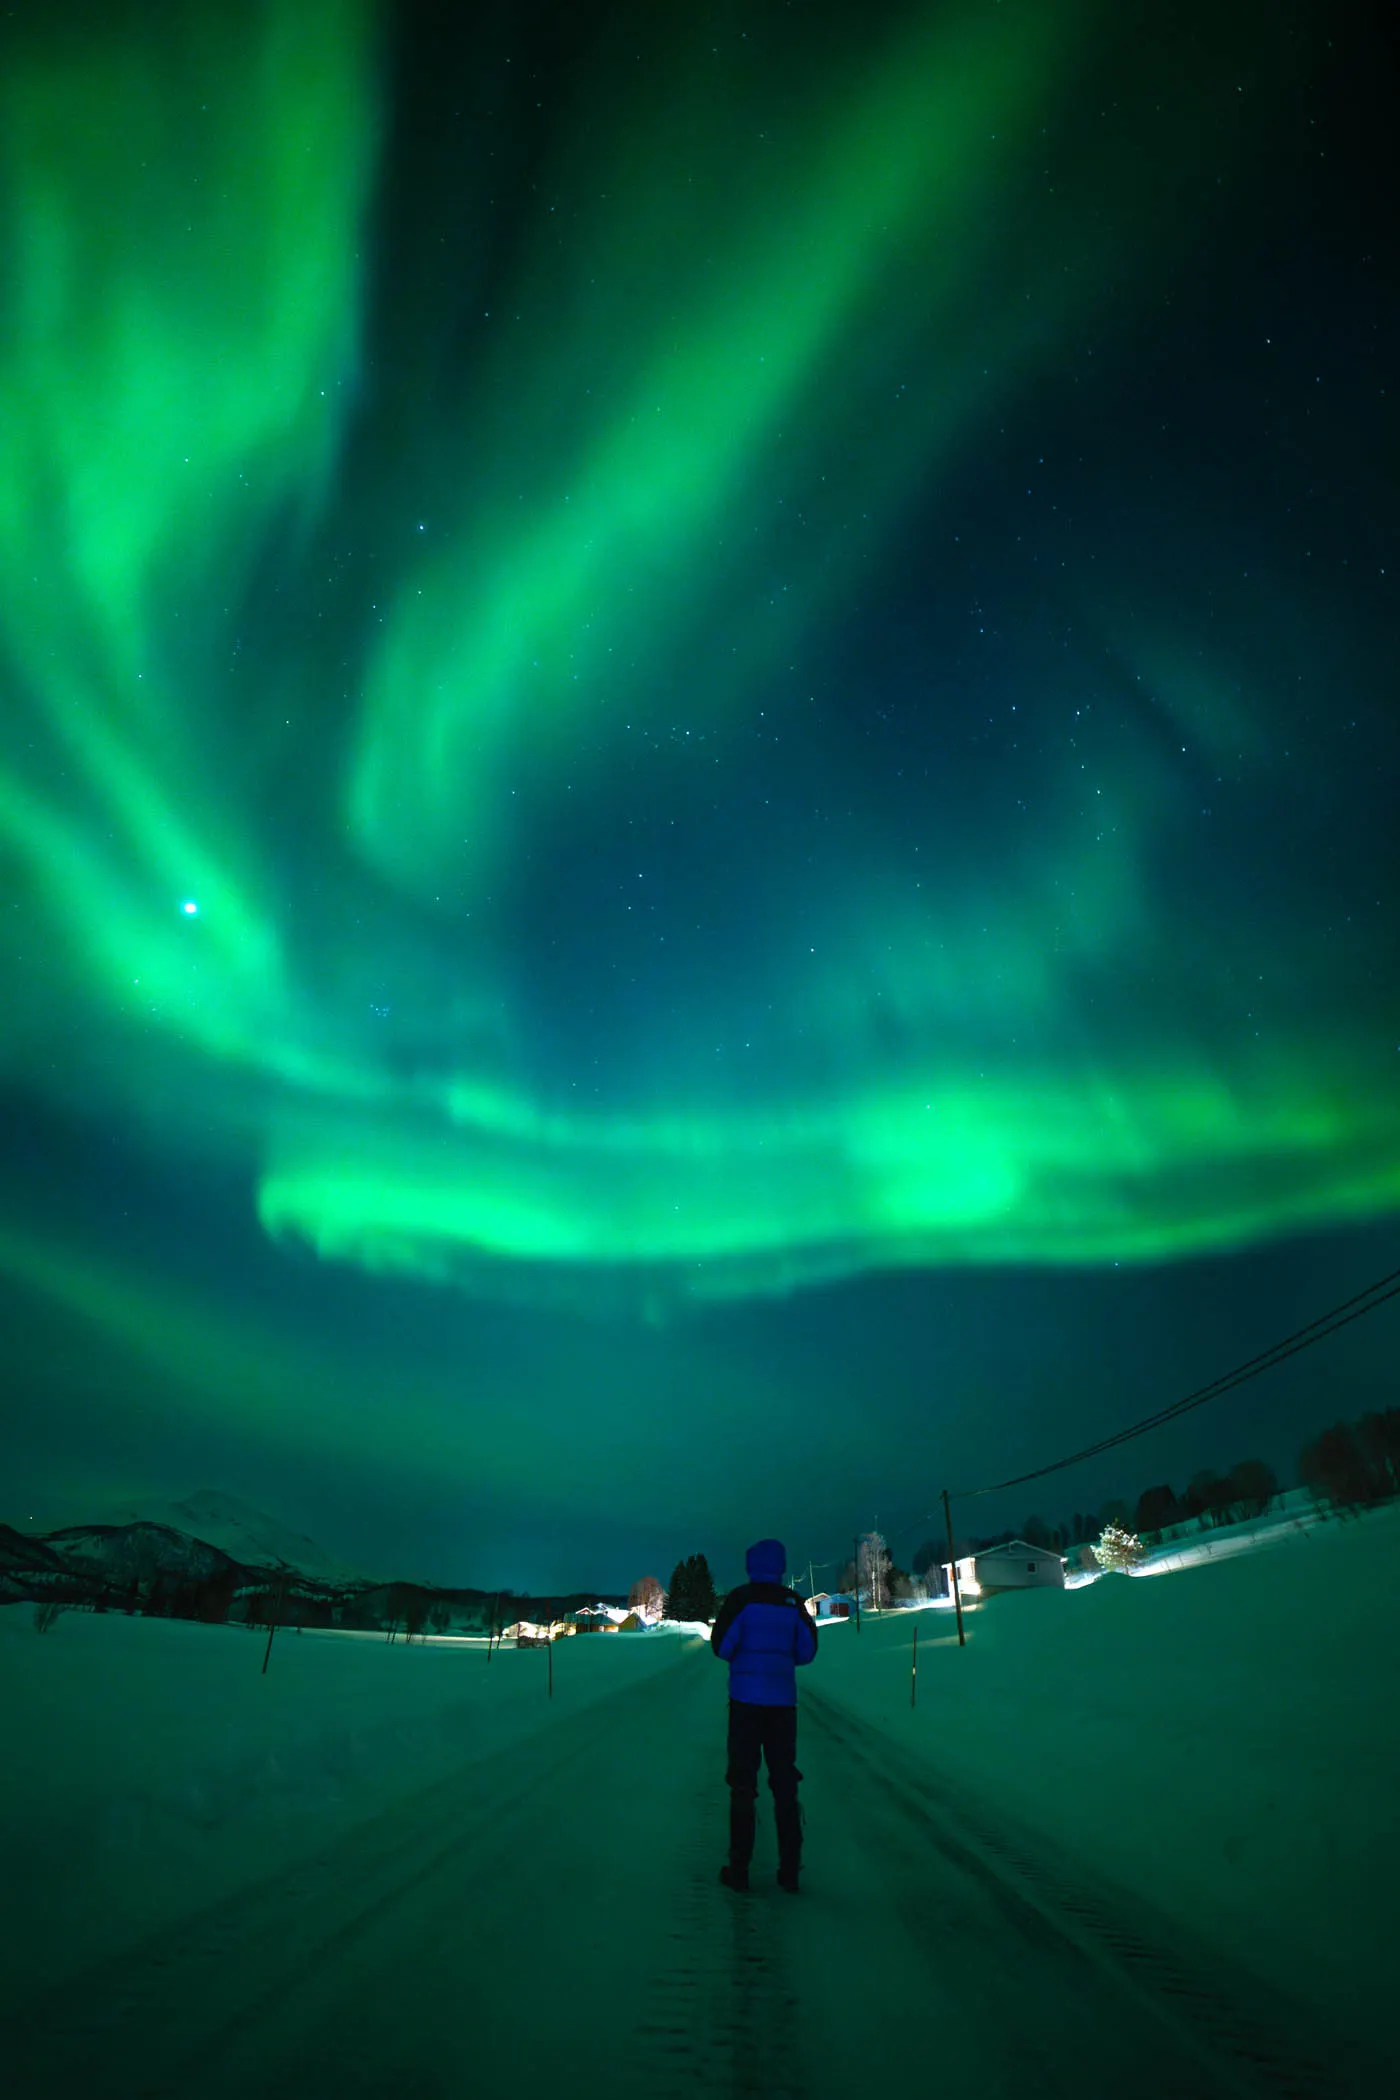
A green sky on its own is nice, but the photo comes alive with a foreground. Look for mountains, a fjord with a reflection, a lone tree, a cabin, or a person with a headtorch. If you photograph a person, they must stand as still as possible for the whole exposure. You'll find the best places to shoot near Tromsø in photography around Tromsø.
How to photograph the northern lights with a phone
Modern phones capture the aurora surprisingly well. Lean the phone against something solid or use a small tripod, turn on Night mode and let the exposure run 3–10 seconds. On an iPhone Night mode switches on by itself in the dark, and you can set the exposure length manually. On Android try Pro mode: ISO 1600–3200 and 4–8 seconds. Don't use the flash or the zoom. I also wrote about shooting with an iPhone in my iPhone 13 Pro review.
The most common mistakes
- Focusing to infinity by the mark: the photos come out soft.
- Too long an exposure: a dancing aurora turns into a blurred green smudge.
- Stabilisation left on on a tripod: it causes blur.
- A headtorch shining into the frame: always warn others before you start shooting.
- Condensation: when you take the camera from the cold into a warm car, it fogs up. Put it in your backpack or a plastic bag and let it warm up slowly.
When and where to look for the aurora
- Ersfjordbotn – a fjord 30 minutes from Tromsø 69.685° N, 18.599° E
- Skibotn – dry interior, often clear 69.391° N, 20.275° E
- Senja – Tungeneset – peaks above the sea 69.358° N, 17.285° E
- Hvítserkur – a rock troll in Iceland 65.606° N, 20.636° W
- Jökulsárlón – glacier lagoon in Iceland 64.078° N, 16.231° W
The northern lights are visible in the dark in a band roughly between 65° and 72° north. In Tromsø the season runs from September to early April. Besides solar activity (the Kp index), a clear sky is key, which is why people often drive tens of kilometres to find the aurora. What such a night looks like, I describe in northern lights hunting in Tromsø. I've also photographed the aurora in Iceland and even in New Zealand.
You learn fastest in the field. On my tours I'll help you set up your camera, and I'll photograph you under the aurora too.
Faq
What settings should I use for the northern lights?
A starting point: aperture f/2.8 or wider, ISO 1600–3200, 2–10 seconds, manual focus on a star and RAW format. In a strong aurora, shorten the exposure.
Can you photograph the northern lights with a phone?
Yes. Use Night mode, lean the phone on something or put it on a tripod, and let the exposure run 3–10 seconds. Modern phones give very good results.
Why are the northern lights greener in photos than to the eye?
A camera sensor is more sensitive to colour in the dark than the human eye. The eye sees a faint aurora as a greyish-white cloud; the camera records it as green.